Friday, October 28, 2011

Easiest and least intimidating way to try making cheese for the first time without spending much money

Cheese making is awesome.  It is what one cheese maker says is, "milk's leap into immortality."

A quick, low commitment, cheap recipe to see if cheese making will be fun and interesting for you....

I call this a "pot"cheese or farmer cheese.

Time ~30 minutes.

What you need:
Equipment:
(1) 6-8 Qt. stockpot
(1) Long handled-spoon
(1) Probe thermometer or floating dairy thermometer
(1) collander lined with ~24" x 24" square of cheese cloth or butter muslin (the tighter the weave, the better).

Ingredients:
1 Gallon milk (freshest you can find.  also small local dairy is better since you'd rather have your milk come from one cow rather than a whole herd or multiple herds from multiple farms mixed together...the reason being that you want your ph or acidity level to be as close to neutral as possible.  Older milk or mixed herd milk can often be more acidic).
1/4 cup white vinegar
Herbs, salt, honey (whatever you want) to flavor

Directions...

1) Heat milk to 190-200* F  (just below boiling).  Stir continuously so the milk doesn't scorch.
2) Add vinegar and stir until you see the curds form and you are left with the translucent whey.  If the curds don't form after stirring for a minute, try adding more vinegar and stirring some more.  If the curds still don't form, it is possibly due to the quality of the milk.
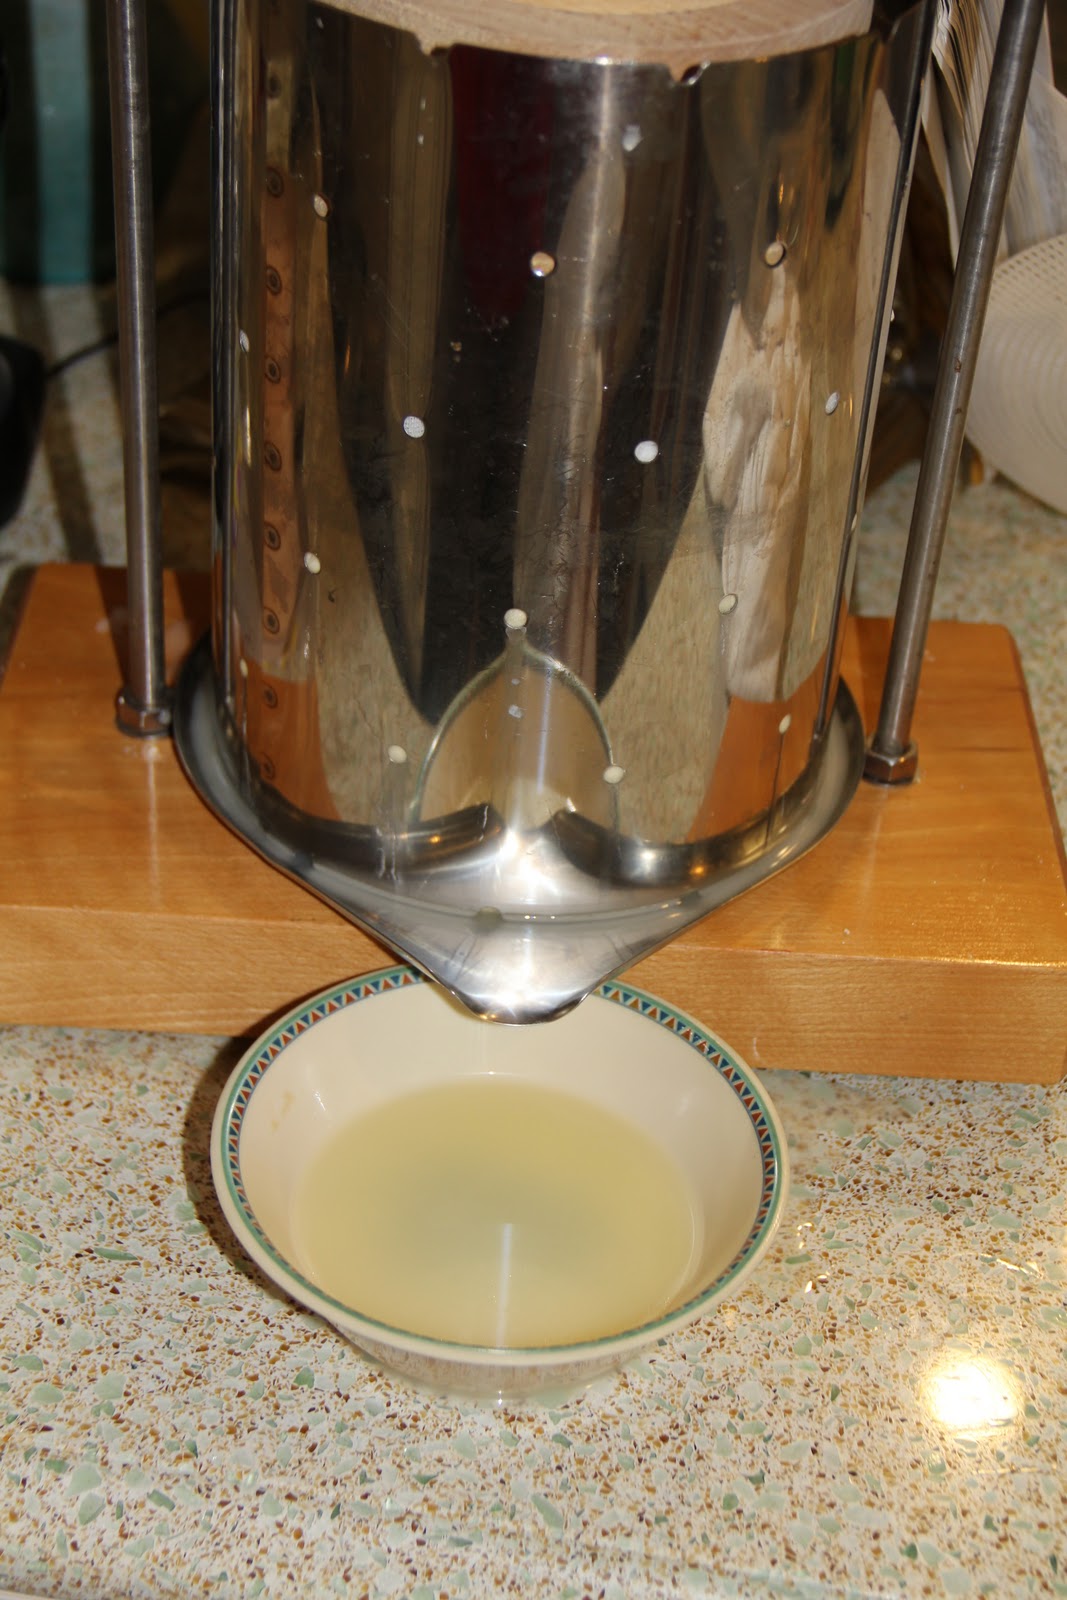
3) Drain curds and whey into the cheese-cloth lined collander.
4) You can eat as is or add herbs to flavor.  You can also tie the ends of the cheese cloth up and hang/drain the cheese for a few hours if you want a formed and somewhat drier cheese.


If this was fun for you, then maybe you want to try making some other, more interesting kinds of cheese.

If so, I recommend Ricki Carroll's "Home Cheese Making" as a good place to start.  You can also buy all the ingredients you need from her website...www.cheesemaking.com  There are other places, too, like http://www.dairyconnection.com/ but Carrol's site is less intimidating at first.  There isn't anything special about her book or supply store, but it is a comfortable place to begin to learn about cheese making.  She also  has a handy "good milk" list by which you can find "good milk", hopefully in your area.  Good milk is needed to make good cheese.  No way around it.  http://www.cheesemaking.com/goodmilklist.html

Enjoy.

Thursday, October 27, 2011

Havarti...or more properly put, "Dave's October 26, 2011 version of a washed-curd cheese, seeking to emulate a Havarti"

TADA!!!!

These lines are a rind defect entirely of our own creation...the cheese was so dense and yet soft when it was taken out of the press that it sunk into wire drying rack.  Note the white mat under the cheese now to correct for that error on the other side.

Hopefully over time the cheese will correct it's shape and smooth out.

This is the other side...less "grill" marks as it didn't have as long  to sink into the wire rack.

Sitting in a "ripening box"...when closed with the top on, the cheese will continue to release moisture in the form of whey and will create it's own humidity inside the box.  Somewhere in the neighborhood or 90% RH.  The box will go into a refridgerator set at ~54*F so the cultures can continue to feed on the milk sugars in the cheese.

Now just as an aside, and because I think it is interesting, that cheese weighs about 4 or 5 lbs.  I started with 8 gallons of milk, which is ~68 lbs of milk.  Let me repeat that...68 lbs. of milk!  And the final yield is only about 4-5 lbs. of cheese.  

Wednesday, October 26, 2011

Havarti

Today was Havarti day.  Havarti is a Danish cheese, although I just think of it as a mild, easily meltable cheese.  Inoffensive, smells fine, tastes fine, whatever.  I chose Havarti today for a few reasons:  1) I'm somewhat impatient and it only has to age for a month. 2) The aging environment is one similar to what I already have set up for my mold-ripened soft cheeses ( 54* F, 90% humidity)  3) It doesn't require brining, which is not hard, but something I wasn't set up to do today.

First, the milk.  Our cow Perry(winkle) puts out about 4 gallons a day. Perry is a Jersey cow so she puts out a pretty high butterfat content.  I had it tested at a lab last year and she was about 6.25%.  The USDA says 3.25% is considered "whole" milk, for some perspective.
These are quart-sized jars.  I used 8 of them (4 gallons).

Next I heated the milk to 90* F.


Add the bacteria or cultures

Kind of looks like pop rocks.
You add cultures here to give the cheese flavor.  Think of it like this:  milk is sweet.  It's sweet because it is full of sugars.  You add bacteria to start converting the sugars into lactic acid, which essentially "sours" the milk.  This is the same thing as leaving out a cup of milk overnight.  The difference with adding  your own cultures is that you YOU choose what kind of cultures colonize in the milk and under what conditions.  And the BIG difference is this part:

  Rennet.  Animal rennet.  Enzymes from a baby cow's stomach.  Adding rennet  (this recipe called for 3/4 tsp. for 4 gallons of milk) speeds up the curdling process.  And in doing so, preserves some of the milk sugars from being eaten up by the cultures.  So effectively you get sweetened, but curdled milk.  That is what most cheese is all about, by the way.  You controlling the acidity and sweetness and moisture content of the cheese.  You could get the same process to happen just by leaving out the milk in warm temperatures, but that is gross.  Acidifying and gelling the milk in a controlled manner is what makes cheese tasty...of course you then have to age it, but that comes later.


Ok, so what is happening above?  I added the rennet to the milk and stirred it in.  What happens next is pretty cool, considering the very small amount of rennet that you add.   It is a little hard to see and imagine what is going on here, but think of the first picture as just 4 gallons of liquid milk.  And the last picture, think of it as 4 gallons of jello or custard.  The time that it took to get from liquid to the gel consistency I wanted was 31 minutes and 30 seconds.  The bowl, by the way, was for the method I use to get the right gel consistency.   The method is called "flocculation" and someone else can explain the science part of it better, but basically you float a bowl on the surface of the liquid milk immediately after stirring in the rennet.  And then you start to spin the bowl as it floats on the surface.  You keep spinning the bowl until all of the sudden (usually about 8-10 minutes later) the bowl freezes and it won't spin any more.  That is the flocculation point, the point that the milk has started to gel.  And then, based on how much you want that gel to retain liquid (how moist you want the cheese), you multiply the time it took to stop the bowl from spinning by a multiplier (in this case 3) and that is the total time you should rennet your cheese.  I'm not sure how this sounds to a non-cheesemaker, but this is a big deal.  It's a big deal because if you listen to a recipe book, they give you a specific time to let the rennet do it's work.  The problem is that each and every time you make cheese, the renneting time is different.  I'm not sure why, but it is.  And since renneting is what determines your final moisture content, if you want consistency, you have to ignore the times in the recipes.  The only accurate way to get the consistency in moisture that you want is to measure your flocculation point and use your multipliers...Hard cheeses like swiss have low floc multipliers (like 1.5 or 2).  Cheddars (and Havarti) call for a floc multiplier of 3-3.5.  And brie has a multiplier of 6.  So the renneting time on a soft cheese like brie can be an hour to two hours.  And think about it for a second.  The longer you let the gel set, the more moisture is retained in the curd.  So that is why brie is soft and runny, while swiss is hard and drier.  Get it?

Next...cut the curd and let some of that moisture (whey) out.  The recipe called for cutting the curd into 1/2 inch cubes, then stirring for 10 minutes to start releasing more whey.


After 10 minutes, you can see that the curds are smaller in size and have released more whey.

Now Havarti is known as a "washed-curd" cheese.  Here what you do is remove some of the whey by scooping it out and replacing it with fresh water.  In this case, you use 170*F water to bring up the overall temperature to about a 100*F.    This makes the cheese milder and sweeter, by taking away some of the lactic acid.  You then add some salt to the pot to provide flavor, but also to slow the acidifying process of the cultures.  I stupidly forgot to take pics of all this...sorry.  


  Drained the curds of the whey.  Looks like cottage cheese at this point.


Put the curds in the press...


...whey is draining.


Unwrap to flip the cheese and rewrap for more pressing...


Twenty minutes later, you can see the curds are starting to "knit" together to form a wheel of cheese.  I have this going for another 8 hours in the press.  And once I take it out tonight, I will post a pic of it.  The next step is to put it in a "ripening box", basically a tupperware bin inside a refrigerator that is set at 55*F.  This keeps a constant humidity of ~90%, which keeps the cheese from drying out and the temperature is an ideal temp for the cultures (remember those?) living within the cheese to slowly eat the milk sugars and convert them to lactic acid.  This is the aging process I mentioned earlier.  In a month or so, this cheese will be ready to eat.  And I can age it even longer if I want to let the cultures keep doing their thing.  I'll talk about aging in a different post.   But for now, realize that cheese is a living thing that you have to keep happy for it to grow into the food you want it to be.   Stay tuned for the final product...

Wednesday, October 19, 2011

My evolving thoughts on cheese

I don't know if it is just me, but when I first started really thinking about how cheese is made, it seemed so daunting.  I would follow one of Ricki Carrol's (the self-annointed 'Cheese Queen) recipes and be overwhelmed by the feeling that if I couldn't exactly replicate the process (like being off a few degrees in temperature), I was doomed to screwing up the cheese and the final product would be inedible.

I thought that because, when after making my first hard cheese, a cheddar, and then moving on to tackle a new style like Gouda, I quickly noticed that the recipes for different cheeses were not all that different.  What I mean by different is that while there are all sorts of variables like milk temperature, cultures, flocculation times, and curd manipulation, the process or the steps involved are pretty much the same...Heat milk > add culture > add rennet > manipulate curd > press > age = cheese.  The variations in cheeses, of course, come from how much you heat the cheese, what kinds of culture you add, how long you rennet the milk, and the method in which you manipulate the curds.  For some reason I chose to draw the conclusion that making cheese is very technical and if certain targets were somehow missed, well then, I don't know what, but I failed at making that cheese.

Here's the conclusion I should have drawn...Follow the basic steps and you WILL get cheese.  Vary the variables I mentioned above and you will STILL get cheese.  It may not be the cheese you were aiming for, but it will still be cheese.  I've slowly been coming to this conclusion as I've tried to reconcile the very specific and technical steps called for in Carrol's recipes with the fact that a few hundred years ago in France or Holland, there is no way a cheesemaker was able to consistently heat their milk to the exact same temperature from make to make.  Or manipulate the curds in exactly the same fashion as the previous batch.  Consistency is something that today's modern cheesemakers can achieve, now that we have thermometers, immersion circulators, lab-segregated bacteria cultures, not to mention food stabilizers and additives.  But hundreds of years ago?  Can you imagine trying to heat a kettle of milk to exactly 90 degrees F, over a wood fire?  Or linearly increase the temperature of your cooking curds at a rate of 2 degrees over 5 minutes for 30 minutes? I can tell you that this is extremely hard on a stove top.

So the point I learned is that aiming for a style, such as a white mold ripened (brie, brillat savarin) or a washed curd (gouda, colby, swiss) or a cheddared cheese (cheshire, monterey jack) should be the goal.  I still follow the recipes in the "Cheese Queen's" book, but only as a general guide.  And when my temperatures or times are off a bit?  I take note (literally) and try and compare the finished products to see the variations.  Mold ripened cheeses that call for longer ripening times (meaning let the cultures ripen the milk before renneting) have more lactic acid in them and have a more pronounced earthy flavor.  Cheddared cheeses that have a shorter renneting time and/or more curd manipulation are drier than if you let the curd form longer and/or stir or heat them less.

Today I made what the recipe called a "coulommier."  Last week I made a "camembert".  Both are mold-ripened, soft cheeses, which age pretty quickly, so I will be able to taste them both in about a month.  I'm looking forward to seeing how they differ in the end, but I don't really care if they turn out the way one would expect them to turn out.  Instead, I will be looking to see if the camembert is earthier, since the ripening time was longer.  And I will be looking to see if the coulommier has more moisture, since I didn't cut the curds before ladling them.  In a month or so, I will post pics and compare and contrast the two 'in the same family' cheeses.

Monday, September 19, 2011

Adventures in camp directing and cheese blogging

As the title reads, I direct a family camp (Medomak Camp in Maine) and we also have a dairy cow...so since she puts out milk, even when camp isn't in session, I put that milk to good use...making cheese so campers can enjoy the goodness and the milk doesn't go to waste.